안녕하세요 유니티 비기너입니다.
이번 시간에는 다양한 Attribute를 사용해보도록 하겠습니다.
Attribute는 Class의 위에 표시되어, 스크립트 프로 퍼니나 함수에 특별한 동작을 나타냅니다.
이제 직접 사용해보고 각각의 Attribute가 어떤 결과를 나타내는지 확인해보겠습니다.
1. HideInInspector
public float mySpeed = 50;
public float myPower = 50;

[HideInInspector]
public float EnemySpeed = 50;
[HideInInspector]
public float EnemyPower = 50;

HideInInspector는 변수가 Public이어도 인스펙터에 노출을 하지 않게 하는 기능이 있습니다.
2. SerializeField
private float mySpeed = 50;
private float myPower = 50;

[SerializeField]
private float enemySpeed = 50;
[SerializeField]
private float enemyPower = 50;
SerializeFields는 private인 변수를 직렬 화하여 인스펙터에 노출시키는 역할을 합니다.
3. Header("string")
[Header("Player")]
public float mySpeed = 50;
public float myPower = 50;

[Header("Enemy")]
public float enemySpeed = 50;
public float enemyPower = 50;
Header는 이미지와 같이 변수들의 입력받은 명칭으로 머리말 역할을 합니다.
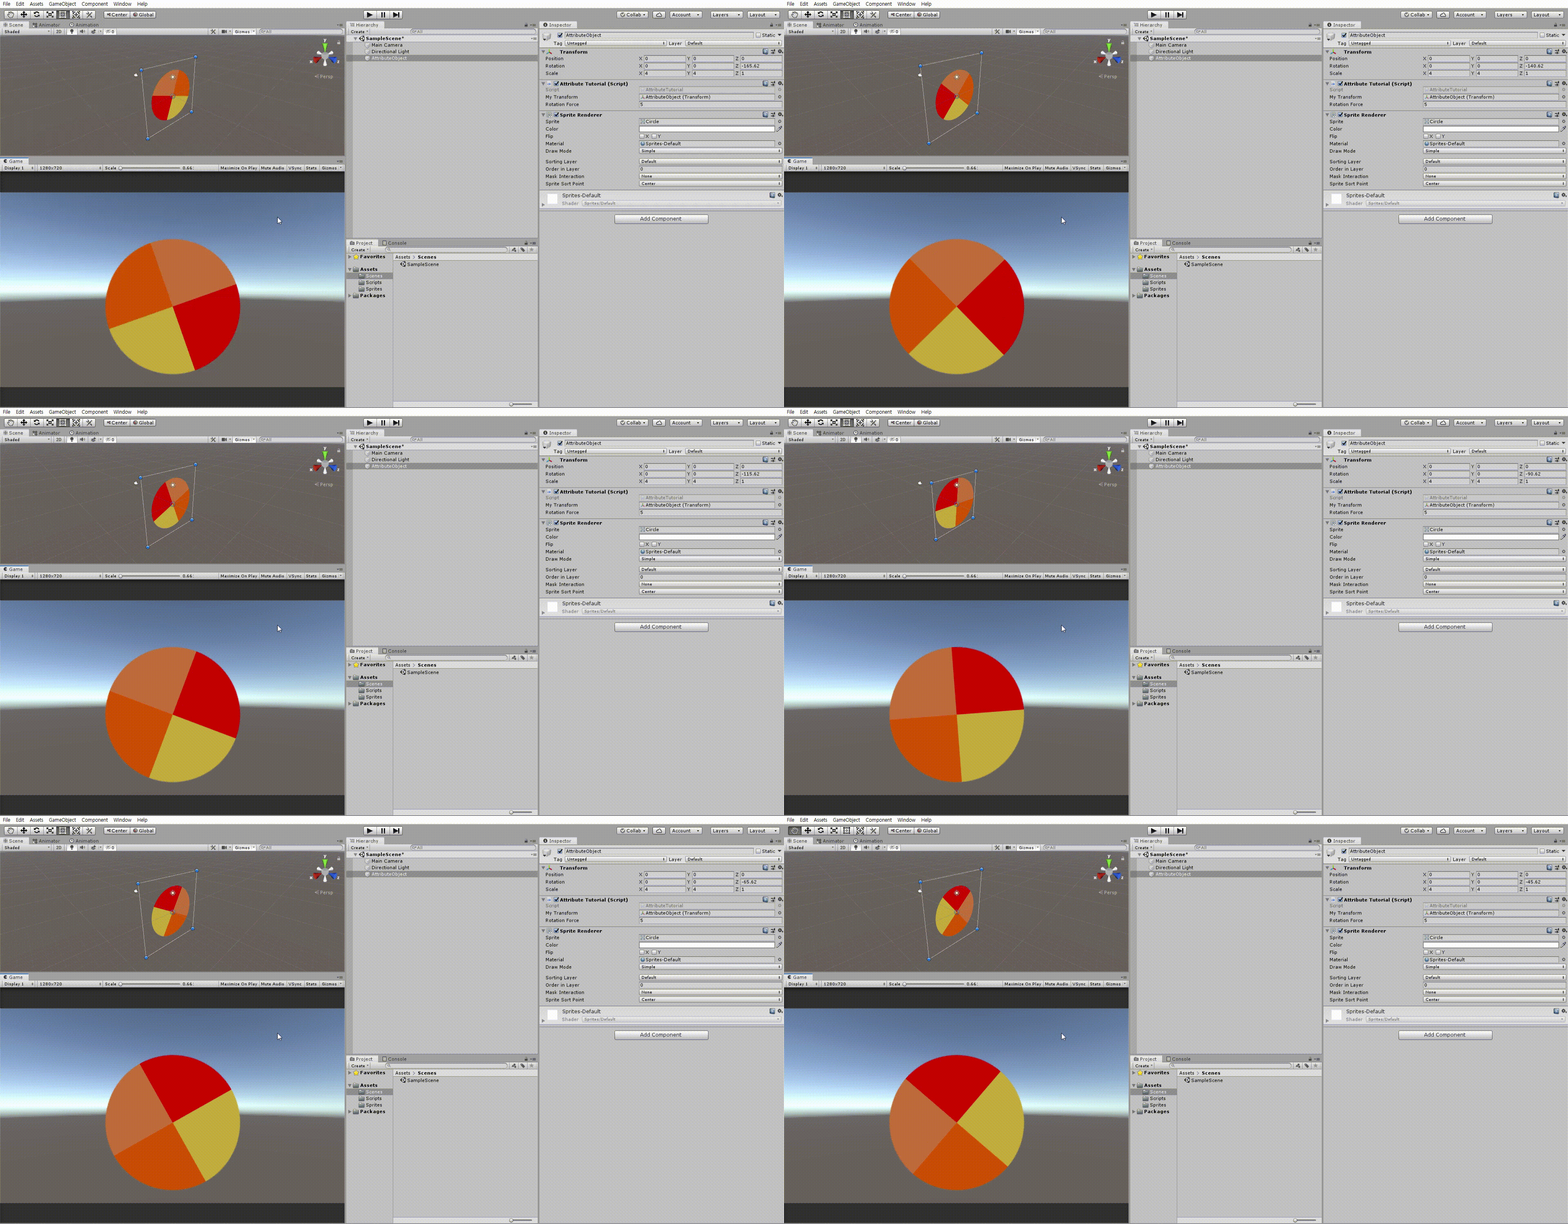
4. ExecuteInEditMode
[ExecuteInEditMode]
public class AttributeTutorial : MonoBehaviour {
    public Transform myTransform;
    public float rotationForce;

    private void Update() {
        myTransform.Rotate(0, 0, rotationForce);
    }
}
ExecuteInEditMode는 스크립트가 에디터 모드에서 동작하도록 설정합니다.
5. Tooltip
[Tooltip("boolType varialble")]
public bool boolType;
Tooltip은 적용한 변수에 마우스를 올리면 입력한 Tooltip이 노출됩니다.
이와 같이 Attribute들을 적절하게 사용하여 스크립트를
보다 이해하기 쉽게 사용할 수 있습니다.
반응형
그리드형
'유니티실습' 카테고리의 다른 글
| 유니티 제이슨 한글 깨짐 현상 (0) | 2020.06.28 |
|---|---|
| 유니티 심플한 초단위 타이머만들기 (0) | 2020.06.26 |
| 유니티 컨트롤러 이용해 애니메이션 전환하기 (1) | 2020.06.21 |
| 유니티 큐브를 활용한 애니메이션 동작하기 2편 (0) | 2020.06.19 |
| 유니티 스프라이트를 활용한 애니메이션 동작하기 1편 (0) | 2020.06.18 |